|
|
|
|
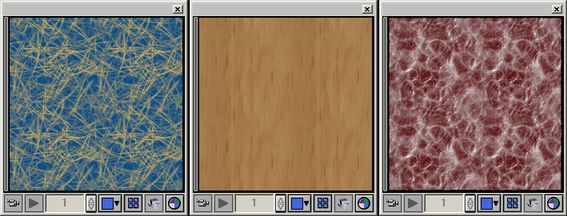
The Blend Tile component allows you to make seamlessly tiling textures quickly and easily. Blend Tile works by overlapping and blending the edges of the Background texture. Blend Tile often works well, but in some cases, you will be able to see the blend regions, making the tiles obvious. The screen shot to the right shows one of the worst possible blend tile cases. You can clearly see the center of each of the four tiles and the blend region between them. Note: remember that your preview geometry must be Frame to preview in tiled mode. The example output is from a color Blend Tile component with its Blend Width set to 60% and its Background parameter linked to a color Scratches component. Go ahead and build a subtree using those settings. It should look like the image below.
2. The solution. The edges of a Blend Tile are visible because they are a 50/50 blend of different areas of the base texture. The center is not blended at all. The way we are going to fix this is by blending another copy of the base texture with the center area. That way, the entire tile is a 50/50 blend of the base texture and you won't see any visible artifacts. 3. Composite. We are going to use the Composite component to blend in an extra layer of the base texture to the center area. First, drag out a color Composite component from the Process folder and place it to the left of the subtree you made in step 1. Now link Composite's Color A parameter to the Blend Tile. Next, make a copy of the base texture (scratches here) and paste it above the Blend Tile component. Link Composite's Color B parameter to the newly pasted Scratches. Finally, edit the newly pasted Scratches and change the Input Seed to change the pattern.
4. Controlling the Composite. We that we have an extra blending of the base texture to the center, we need to control Composite so that it doesn't blend the second Scratches with the edge area. Basically, we want Composite to have a 50/50 blend in the center and no blending on the edges. Now, let's create a percent subtree to control composite. To ensure that the control exactly matches Blend Tile's blend region, we are going to use another Blend Tile. First, copy Blend Tile and paste a new percent copy directly below the first Blend Tile. Now we need to make the percent Blend Tile's center 50% and its edge 0%. Since you cannot set Blend Tile's center or edge values directly, we will link those parameters instead. A convenient component for generating single values is Add from the Process folder. Drag out two Add components and place them to the right of the percent Blend Tile. Edit one of the Add components and set the Percent A and Percent B parameters to zero. Edit the other Add component setting Percent A to 50% and Percent B to 0%. Now link Blend Tile's Edge parameter to the black Add and Background to the grey Add component. Finally, link Composite's Mask parameter to the percent Blend Tile. The results should look like the screenshot below.
Note: For this to work properly, you need to ensure the two Blend Tiles have identical settings. If you change one, you must change the other. It might be wise to control both Blend Tile component's parameters with common tweaks to ensure this. 5. Better design. The texture tree we just completed works well but it has one problem with it. The base texture, the part your trying to tile, is split out into two places (see example). If the base texture is large and complex, this is a real pain to manage. If you change one subtree, you have to change the other. What you really want is two versions of the same base texture.
|
|
Darkling Simulations © 1997-2003 Any questions? Mail me! skyler@darksim.com |
 1. The problem with Blend Tile.